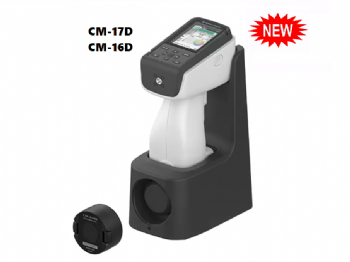
Spectrophotometer CM-36dG
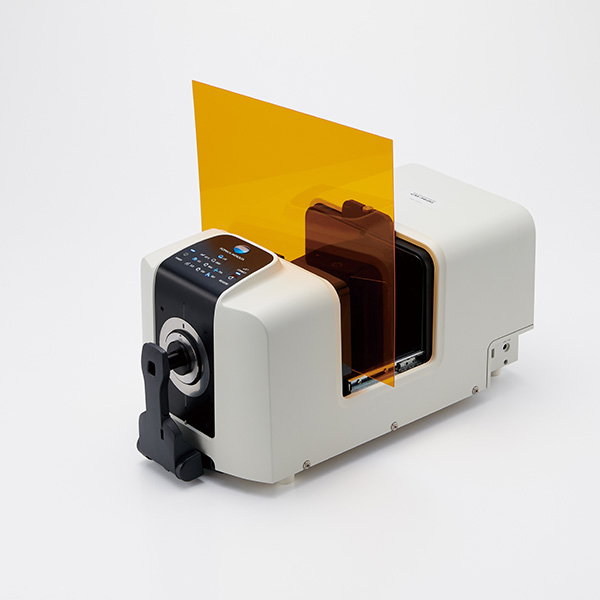
The Spectrophotometer CM-36dG, successor to the Spectrophotometer CM-3600A, is a highly accurate and repeatable benchtop color measurement instrument that comes with advanced functions for today’s measurement needs.
The CM-36dG is capable of measuring color in either reflectance or transmittance. It also comes with a 60° gloss sensor (ISO 2813 compliant), enabling the simultaneous measurement of color and gloss that improves work efficiency.
Equipped with the patented Numerical UV Control (NUVC), the CM-36dG offers precise and easy UV adjustments when measuring samples that contain optical brighteners (OBA) such as paper and textiles.
With a tight inter-instrument agreement (IIA) and repeatability of ΔE*ab< 0.12 and σ∆E*ab < 0.02, respectively, the CM-36dG can ensure the measurement and its data are communicated within the supply chain, from suppliers to finished product maker, consistently.
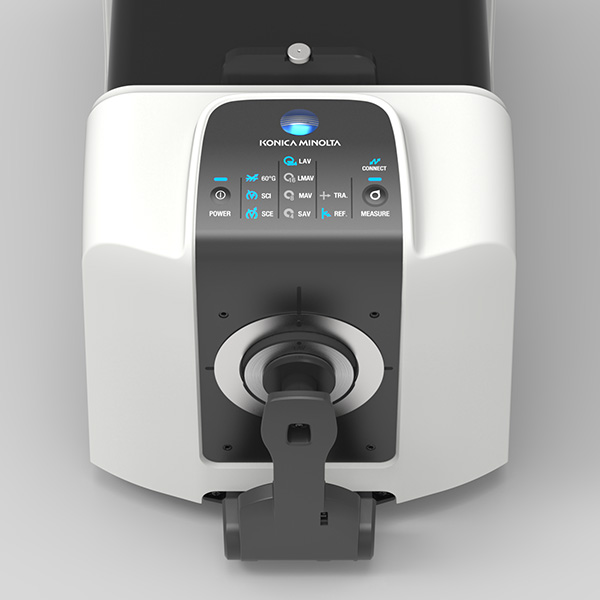
The CM-36dG is design with enhanced useability. It features an easy-to-read status panel, with the measuring button located on it, that displays the measurement status and condition settings to minimize operator error and improve work efficiency. The sample viewing function, utilizing an integrated camera, is also available to ensure accurate and easy positioning of the measurement sample.
Spectrophotometer CM-36dG
The Spectrophotometer CM-36dG, successor to the Spectrophotometer CM-3600A, is a highly accurate and repeatable benchtop color measurement instrument that comes with advanced functions for today’s measurement needs.
The CM-36dG is capable of measuring color in either reflectance or transmittance. It also comes with a 60° gloss sensor (ISO 2813 compliant), enabling the simultaneous measurement of color and gloss that improves work efficiency.
Equipped with the patented Numerical UV Control (NUVC), the CM-36dG offers precise and easy UV adjustments when measuring samples that contain optical brighteners (OBA) such as paper and textiles.
With a tight inter-instrument agreement (IIA) and repeatability of ΔE*ab< 0.12 and σ∆E*ab < 0.02, respectively, the CM-36dG can ensure the measurement and its data are communicated within the supply chain, from suppliers to finished product maker, consistently.
The CM-36dG is design with enhanced useability. It features an easy-to-read status panel, with the measuring button located on it, that displays the measurement status and condition settings to minimize operator error and improve work efficiency. The sample viewing function, utilizing an integrated camera, is also available to ensure accurate and easy positioning of the measurement sample.
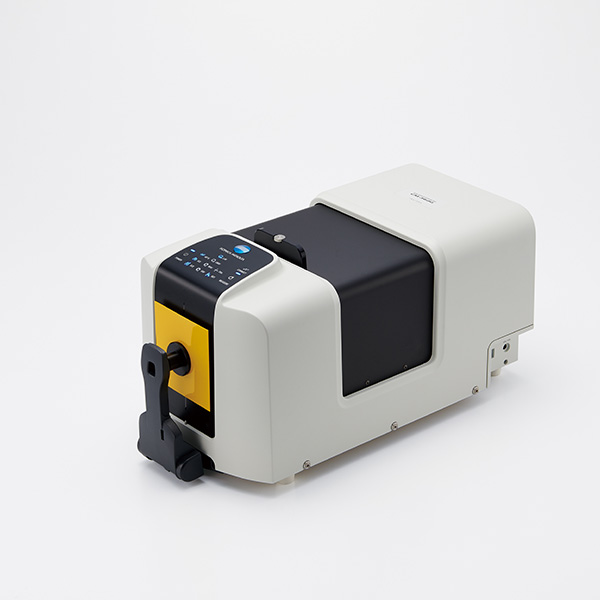
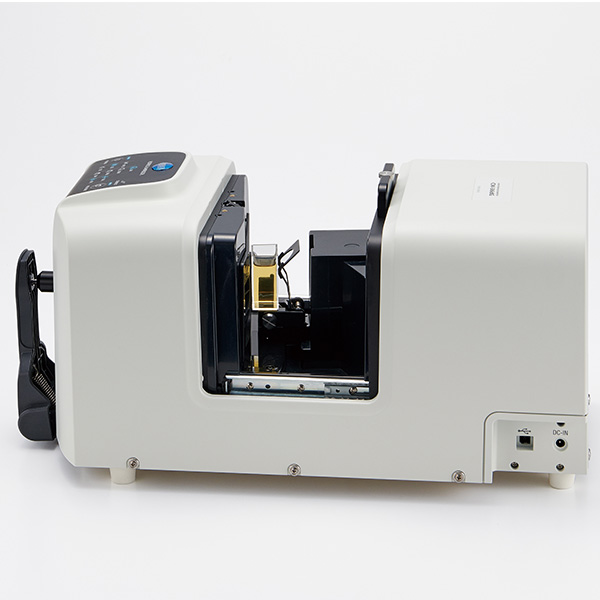
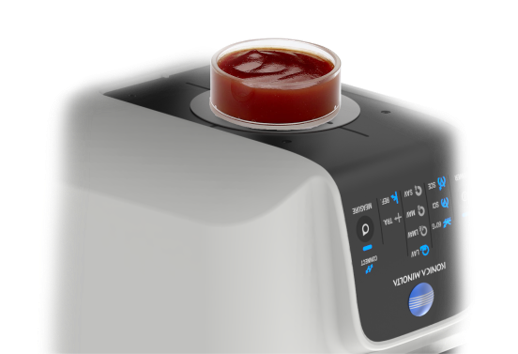 With a large and open-sided transmission chamber, the CM-36dG can easily measure transparent or translucent samples of any size. With a flat-back design, the orientation of CM-36dG can be repositioned to take measurements vertically (top-port concept). The front plate of the CM-36dG comes with four screw holes that allow the easy installation of custom adapter/sample holders. The CM-36dG also comes with four different aperture sizes (Ø 4.0 mm, 8.0 mm, 16.0 mm, and 25.4 mm), offering versatility to different measurement needs.
The CM-36dG offers high stability and reliability with its optional WAA (Wavelength Analysis & Adjustment) function. This innovative function analyzes and adjusts any wavelength shift during each calibration, ensuring the instrument and its measurement remain stable and reliable over time.
Spectrophotometer CM-36dG
| Color | Illumination/ Viewing System | Reflectance:
di:8°, de:8° (diffused illumination, 8° viewing), SCI (Specular Component Included) / SCE (Specular Component Excluded) switchable. Conforms to CIE No.15, lSO7724/1, ASTM E1164, DIN 5033 Teil7, and JIS Z 8722 condition c standards |
| Transmittance:
di:0°, de:0° (diffused illumination, 0° viewing) Conforms to CIE No.15, ASTM E1164, DIN 5033 Teil7, and JIS Z 8722 condition g standards |
||
| Integrating Sphere Size | Ø152 mm (6 inches) | |
| Detector | Dual 40-element silicon photodiode arrays | |
| Spectral Separation Device | Diffraction grating | |
| Wavelength Range | 360 to 740 nm | |
| Wavelength Pitch | 10 nm | |
| Half Bandwidth | approx. 10 nm | |
| Reflectance
Range |
0 to 200% | |
| Resolution: 0.01% | ||
| Light Source | 3 Pulsed xenon lamps (2 with UV cut filters) | |
| Illumination / Measurement Area | LAV: Ø30.0 mm / Ø25.4 mm
LMAV: Ø20.0 mm / Ø16.0 mm MAV: Ø11.0 mm / Ø8.0 mm SAV: Ø7.0 mm / Ø4.0 mm Trans: Ø24.0 mm / Ø17.0 mm |
|
| Repeatability | Colorimetric values: Standard deviation within ΔE*ab 0.02
Spectral reflectance: Standard deviation within 0.1% (When a white calibration plate is measured 30 times at 10-second intervals after white calibration) |
|
| Inter-Instrument
Agreement |
Within ΔE*ab 0.12
(Based on average for 12 BCRA Series II color tiles; LAV/SCI. Compared to values measured with master body under Konica Minolta standard measurement conditions) |
|
| UV Setting | 100% / 0% / Adjusted
Instantaneous numerical adjustment of UV with no mechanical filter movement required*1; 400 nm and 420 nm UV cutoff filters |
|
| Gloss | Measurement Angle | 60° |
| Light Source | White LED | |
| Detector | Silicon photodiode | |
| Measurement Range | 0 to 200 GU | |
| Resolution: 0.01 GU | ||
| Measurement Area | MAV (LAV/LMAV/MAV color measurement area):
Ø10.0 x 8.0 mm ellipse |
|
| SAV (SAV color measurement):
Ø3.0 mm |
||
| Repeatability | 0 to 10 GU: within 0.1 GU
10 to 100 GU: within 0.2 GU 100 to 200 GU: 0.2% (When measured 30 times at 10-second intervals) |
|
| Inter-Instrument
Agreement |
0 to 10 GU: ±0.2 GU
10 to 100 GU: ±0.5 GU (MAV. Compared to values measured with master body under Konica Minolta standard conditions) |
|
| Geometry | JIS Z 8741 (MAV), JIS K 5600, ISO 2813, ISO 7668 (MAV), ASTM D523-08, ASTM D2457-13, and DIN 67530 | |
| Measurement Time | Approx. 3.5 second (SCI+SCE measurement)
Approx. 4 second (SCI+SCE+Gloss measurement) |
|
| Minimum Interval Between Measurements | Approx. 4 second (SCI+SCE measurement)
Approx. 4.5 second (SCI+SCE+Gloss measurement) |
|
| Sample Viewer Function | Using internal camera
(Image viewable/copiable using optional software such as SpectraMagic NX software Ver. 3.2 or later) |
|
| Internal Performance Check*2 | WAA (Wavelength Analysis & Adjustment) Technology | |
| Interface | USB 2.0 | |
| Target Mask Auto Detection | Yes | |
| Power | Dedicated AC adapter | |
| Operating temperature / humidity range | 13 to 33°C, Relative humidity: 80% or less (at 35°C) with no condensation | |
| Storage temperature / humidity range | 0 to 40°C, Relative humidity: 80% or less (at 35°C) with no condensation | |
| Size (W x H xD) | Approx. 248 x 250 x 498 mm | |
| Weight | Approx. 8.4 kg | |


